A wire arc additive manufacturing wall does not deposit the same way at layer two as it does at layer eighty. Early layers sit on a cold, heavy base plate that pulls heat away fast, so the pool stays tight and the bead holds close to its programmed width. As the wall climbs, the material under the arc is no longer the fixture — it is dozens of layers of metal that already carry heat from the passes below, with far less cool surrounding mass to conduct it into. Every layer sheds heat more slowly than the one before it, and unless something in the process compensates, the pool widens, the wall’s cross-section drifts off its planned profile, and the start and stop of every pass start looking different from the middle of the run. This is about that drift: why it happens, what it looks like as a build climbs, and the three control actions — dwell, travel speed, and wire feed — that keep geometry inside the window a procedure actually qualified.
Key takeaways
- As a WAAM wall gets taller, the metal beneath the arc sheds heat more slowly with every added layer. That is heat sink loss, not a machine fault.
- Slower heat loss widens the melt pool and the deposited bead even when wire feed speed and travel speed have not changed.
- Start and stop points carry a different local thermal history than the middle of a pass, which is why crater-type defects and geometry steps cluster there.
- Dwell buys back cooling time between layers but adds cycle time and creates its own start/stop transient at the resumed arc.
- Travel speed sets how much heat and metal land per unit length; speeding up as the wall warms is often the first correction a build reaches for.
- Wire feed speed sets arc energy and deposited mass together, so trimming it as the build climbs lets the hotter pool spread less, alongside travel speed rather than replacing it.
- None of the three actions works well held fixed for a whole build — a real strategy ties them to measured interlayer condition, not a schedule written once at commissioning.
Why the wall stops behaving like the first few layers
The physics behind bead-width drift is a heat-balance problem, not a defect in the machine or the wire. Every pass in WAAM is a fresh weld: the arc remelts the top of the previous layer so the new bead fuses to it metallurgically rather than sitting on top of it. What decides how far that pool spreads before it solidifies is how fast the surrounding metal can carry heat away.
On the first few layers, that surrounding metal is mostly the base plate: thick, cold, and an efficient heat sink. As the wall grows, the conduction path from the arc back to anything genuinely cold gets longer, and the ratio of cool surrounding mass to already-hot deposited metal keeps shrinking. The same arc energy that produced a tight, narrow pool at layer five raises interlayer temperature further at layer fifty, because there is proportionally less cold metal left nearby to absorb it. This is heat sink loss, and it is the reason a WAAM procedure written around early-layer behaviour tends to drift as the build gets taller.
What bead width drift looks like, layer by layer
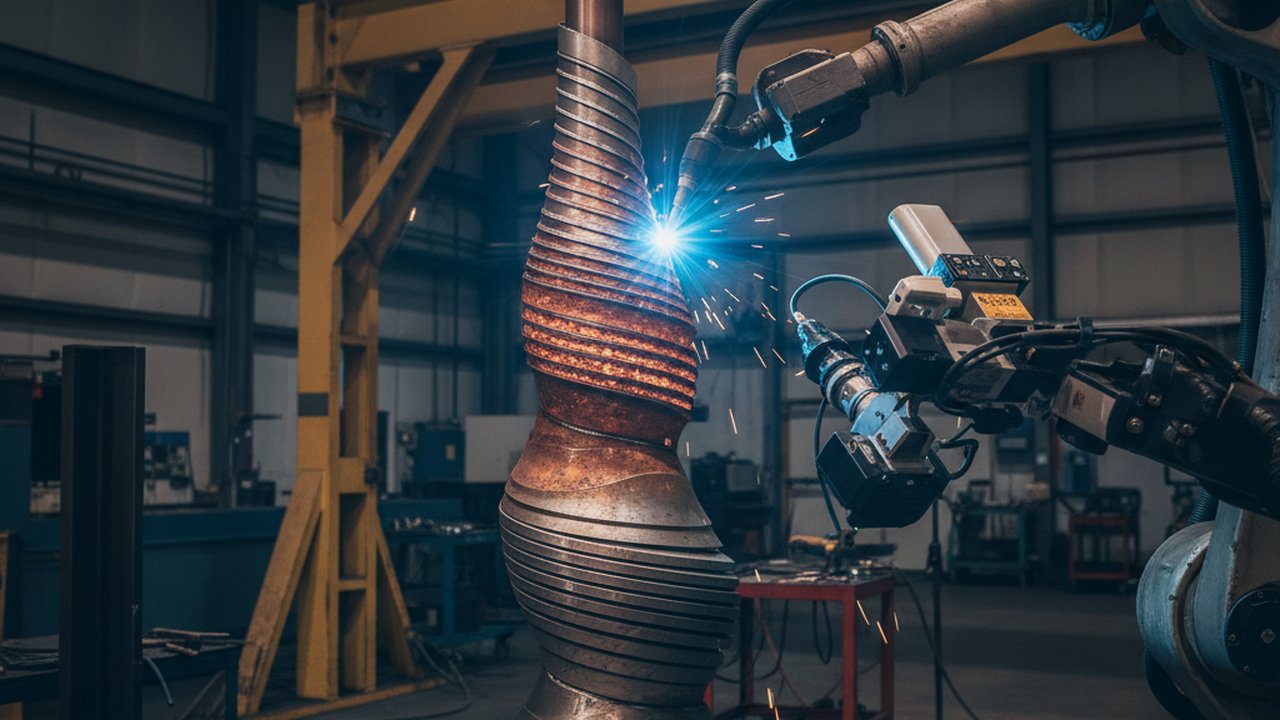
The visible signature is a pool that keeps widening for its own sake, not because a parameter changed. Watched on video, later layers show the melt pool spreading wider and lingering longer before it solidifies than the same pass would have on layer ten. Left uncorrected, the wall’s cross-section grows past its intended profile, and on some materials the bead can start to sag under its own weight before it fully sets, rather than holding the shape the torch path was programmed to build. The deep dive on this exact failure path — why carbon steel WAAM walls slump — covers the accumulation mechanism and the interlayer-temperature signature in more depth than fits here.

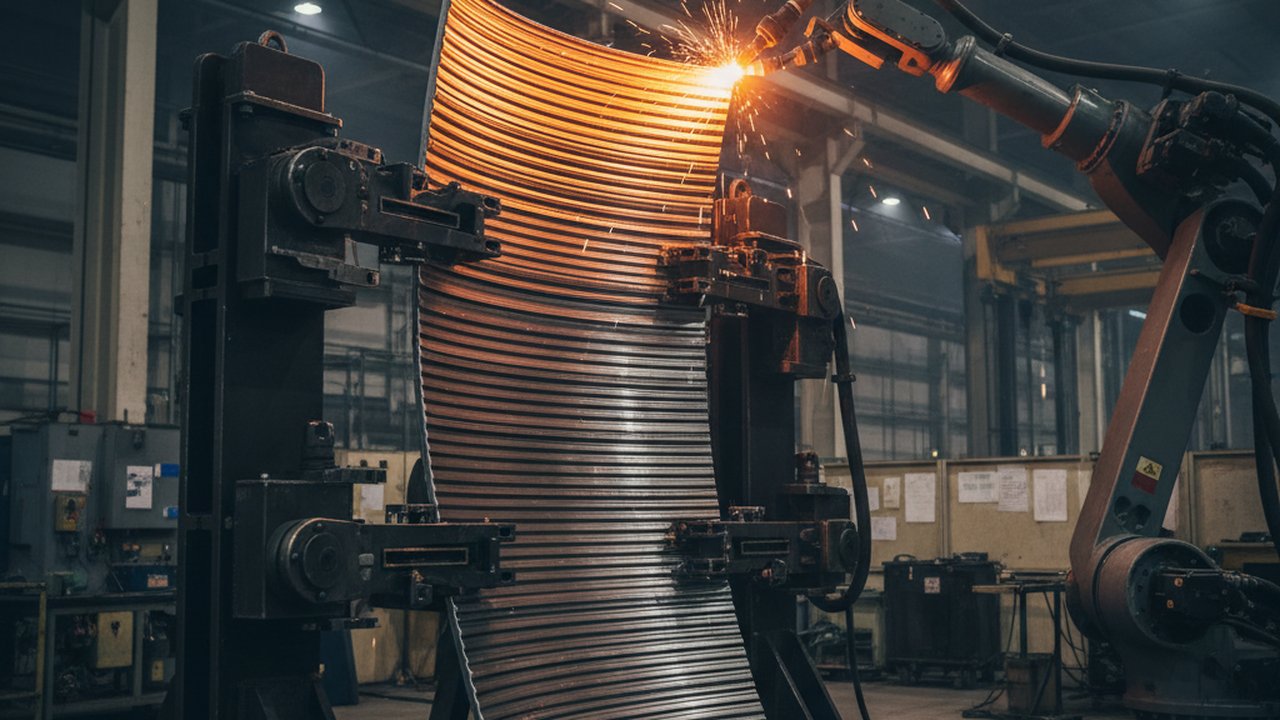
On the footage above, the torch retraces the same path pass after pass, laying each bead directly onto the crown of the last. Watching several consecutive layers side by side is the fastest way to see drift for yourself: the pool on a later pass sits visibly wider and glows longer than the same point on an earlier one, even when nothing on the machine’s parameter screen has changed.
Start and stop effects: why the ends of a pass behave differently
The middle of a pass has a fairly consistent thermal history from one point to the next, but the two ends do not. A pass that stops leaves a crater: deposition ends abruptly rather than tapering the way a continuous mid-pass region does, so the last few millimetres of metal solidify with less fill than the bead around them. A pass that starts is arcing onto a point that carries a different thermal history than the bead it is about to fuse into — it sat at a joint edge through the previous layer’s cooling rather than mid-run, so it can be cooler, or in a build where passes stack starts on the same side, warmer, than the middle of the layer expects.
Both conditions push the local fusion condition away from what the middle of the layer sees: a crater that never fully fused reads as lack of fusion at the joint, and a start point re-arcing into already-hot material from a stacked start can push the opposite way, toward deeper remelt and higher dilution into the layer below. Neither is a separate physics from the bead-width drift above — it is the same imbalance between arriving heat and available conduction, concentrated at the two points in every pass where the surrounding thermal condition is least like the rest of the layer. Staggering start points around the wall’s perimeter, rather than stacking them on one side, is the most common build-strategy answer, because it spreads that concentrated risk instead of letting it accumulate at a single seam.
Three control actions that keep geometry inside the window
None of the actions below is a complete answer by itself. A build strategy that holds geometry through a tall wall typically blends more than one, tied to a measured signal rather than a fixed schedule written once at commissioning.
Dwell: buying back cooling time
A dwell is a deliberate pause between layers, or between groups of layers, that lets the wall shed heat before the next pass starts. It directly lowers the interlayer temperature the next layer begins from, which is the single biggest lever on pool width described above. The trade-off is cycle time — every second of dwell is a second the build is not depositing — and a dwell interval fixed once at commissioning does not track the fact that the wall’s own heat-sink capacity keeps shrinking as it climbs; a pause long enough to hold interlayer temperature steady at layer ten is typically too short by layer eighty. Wire arc additive interlayer temperature control loop design covers how to turn dwell into a closed loop against a measured setpoint instead of a fixed number.
Travel speed: correcting deposition per unit length
Travel speed sets how long the arc dwells over any given point along the path, which sets both how much heat and how much metal land per millimetre for a given wire feed speed. Speeding up as the wall warms delivers less of both, which pushes back against a pool that is starting to run wider than the layers below it needed. Because travel speed and wire feed speed together set deposition rate, changing one without the other also changes how much metal is going into the part per unit time, which is why the two are usually adjusted as a pair rather than travel speed alone.
Wire feed speed: trimming how much metal lands
Wire feed speed sets both arc energy and deposition rate directly: more wire per minute means more heat and more metal deposited per unit length at a given travel speed. Trimming wire feed speed down as interlayer temperature climbs reduces both, so the hotter, slower-cooling pool that heat sink loss produces spreads less before it solidifies and the bead stays closer to its programmed width. That is a deliberate reduction in deposited volume, not a way of restoring the volume the cooler early layers received — the build trades some deposition rate for width control. How wire feed speed controls WAAM bead width works through the wire-feed-to-travel-speed ratio in detail, including where a higher feed speed stops producing a proportionally wider bead.
None of the specific temperature or dwell-time thresholds that keep a given build inside spec belong in a general article: they come from the qualified procedure for that alloy, wire, and geometry, not from a generic figure. AWS D20.1 WAAM qualification requirements walks through how that procedure, machine, and operator qualification is built and documented.
Reading the drift in a monitoring feed, not after the wall is cut apart
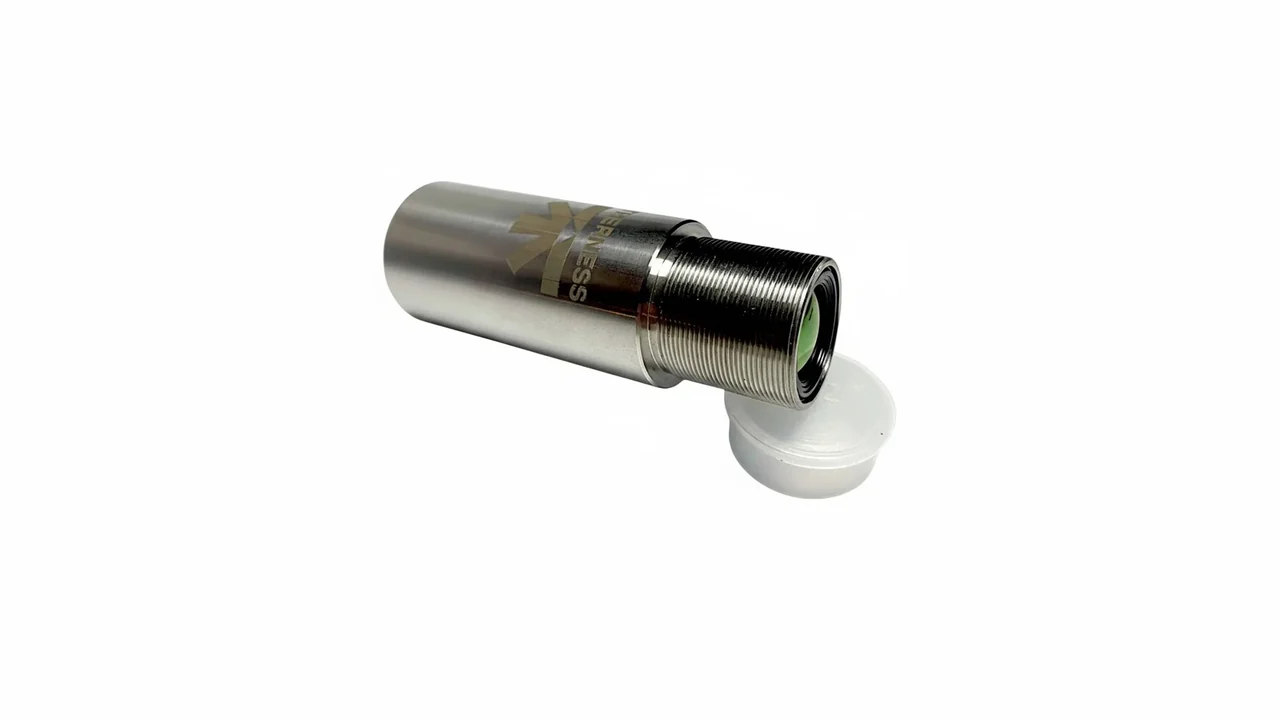
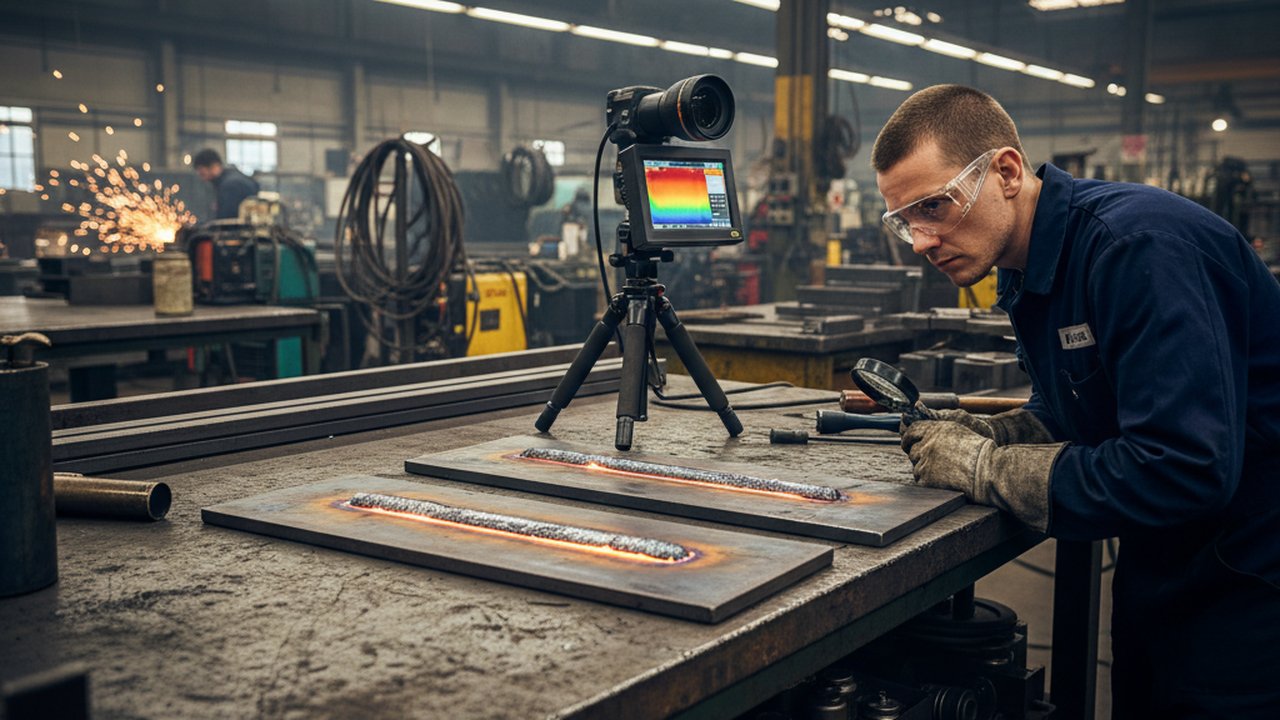
Every signal described above — pool width, interlayer temperature, the local condition at a start or stop point — is something a monitoring system can read while the build is still running, which is the entire value of watching it rather than only measuring the finished wall. An embedded thermal sensor such as HeatCam IR-S logs interlayer temperature layer by layer without adding a contact probe to the additive head, and HeatCore AI can score the thermal trend for porosity or lack-of-fusion risk as the wall climbs, rather than waiting for post-build inspection to find what already happened. For estimating what a given wire-feed and travel-speed combination should deposit before a build starts, the deposition rate calculator and the interpass temperature timer are the quick reference points; neither replaces the procedure qualification itself.
Related reading
- Wire arc additive manufacturing (WAAM) — layer upon layer — the build footage this post walks through.
- Why carbon steel WAAM walls slump — the interlayer-temperature accumulation mechanism in depth.
- How wire feed speed controls WAAM bead width — the wire-feed-to-travel-speed ratio that sets layer geometry.
- Wire arc additive interlayer temperature control loop design — turning dwell into a closed loop.
- Wire-arc deposition with ER70S wire, cell and close-up — the same deposition principle on a shaped, non-planar build.
FAQ
Why does WAAM bead geometry change as the wall gets taller? Because the substrate under the arc changes through the build. Early layers sit on a cold, thick fixture or plate that conducts heat away quickly, holding the pool tight. As the wall climbs, the arc is depositing onto layers that are already warm from the passes below, so each layer sheds heat more slowly than the one before it and the pool has more time to spread before it solidifies.
What is heat sink loss in wire arc additive manufacturing? Heat sink loss is the progressive drop in how fast the growing part can conduct heat away from the arc, as height increases. A tall thin wall has a long, narrow conduction path back to the base plate and a shrinking ratio of cool surrounding mass to already-hot deposited metal, so the same arc energy raises interlayer temperature more with every added layer unless something in the process compensates.
Why do start and stop points on a WAAM wall look different from the rest of the bead? A pass ending leaves a crater where deposition stopped without the gradual taper a mid-pass region gets, and a pass starting lands on material that cooled differently than the bead it is about to fuse into, because it sat at a joint edge rather than mid-run. Both points see a different local thermal history than the bulk of the layer, which is why start/stop geometry and fusion quality need their own attention rather than being read off the mid-pass profile.
Does dwell time alone fix bead width drift in WAAM? It buys back cooling time between layers, which lowers the interlayer temperature the next pass starts from, but a dwell schedule fixed at commissioning does not track how the wall’s heat sink capacity keeps shrinking as it grows. A dwell long enough to hold interlayer temperature steady at layer ten is usually too short by the time the build reaches layer eighty, which is why dwell is normally one input in a control loop rather than a single fixed pause.
How does travel speed correct for heat accumulation during a WAAM build? Travel speed sets how much arc time, and therefore how much heat, is delivered per unit length of the pass. Increasing travel speed as the wall warms delivers less heat and less deposited metal per millimetre for the same wire feed speed, which counteracts a pool that is starting to run wider than the layers below it. The trade-off is that travel speed also affects deposition rate, so it usually moves together with wire feed speed rather than alone.
Can wire feed speed be adjusted layer by layer to control WAAM geometry? Yes, and production builds commonly do this rather than holding one wire feed speed for the whole part. Because wire feed speed sets both arc energy and deposition rate, trimming it down as interlayer temperature rises delivers less heat and less metal per pass, so the hotter, slower-cooling pool spreads less and the bead stays closer to its programmed width. It is not restoring the volume the cooler early layers received; it is deliberately depositing less to offset a pool that would otherwise run wider, which is why it usually moves together with travel speed rather than replacing it.
How is bead width drift detected before it becomes a rejected part? By tracking pool geometry and interlayer temperature while the build runs, not by measuring the finished wall afterward. A thermal or visual signal that shows the pool trending wider over consecutive layers, or interlayer temperature climbing past the qualified window, is the precursor; catching it there leaves time to adjust dwell, travel speed, or wire feed before enough layers have drifted to put the wall outside its dimensional tolerance.
Watch interlayer condition through the whole build
Therness logs interlayer temperature and pool geometry layer by layer, so bead width drift shows up while the wall is still on the fixture, not after it is cut apart.
Talk to an engineerTherness solution: Welding parameter monitoring — Current, voltage, wire feed and gas recorded per weld, as WPS/PQR and heat-input evidence.
Frequently Asked Questions
Why does WAAM bead geometry change as the wall gets taller?
Because the substrate under the arc changes through the build. Early layers sit on a cold, thick fixture or plate that conducts heat away quickly, holding the pool tight. As the wall climbs, the arc is depositing onto layers that are already warm from the passes below, so each layer sheds heat more slowly than the one before it and the pool has more time to spread before it solidifies.
What is heat sink loss in wire arc additive manufacturing?
Heat sink loss is the progressive drop in how fast the growing part can conduct heat away from the arc, as height increases. A tall thin wall has a long, narrow conduction path back to the base plate and a shrinking ratio of cool surrounding mass to already-hot deposited metal, so the same arc energy raises interlayer temperature more with every added layer unless something in the process compensates.
Why do start and stop points on a WAAM wall look different from the rest of the bead?
A pass ending leaves a crater where deposition stopped without the gradual taper a mid-pass region gets, and a pass starting lands on material that cooled differently than the bead it is about to fuse into, because it sat at a joint edge rather than mid-run. Both points see a different local thermal history than the bulk of the layer, which is why start/stop geometry and fusion quality need their own attention rather than being read off the mid-pass profile.
Does dwell time alone fix bead width drift in WAAM?
It buys back cooling time between layers, which lowers the interlayer temperature the next pass starts from, but a dwell schedule fixed at commissioning does not track how the wall's heat sink capacity keeps shrinking as it grows. A dwell long enough to hold interlayer temperature steady at layer ten is usually too short by the time the build reaches layer eighty, which is why dwell is normally one input in a control loop rather than a single fixed pause.
How does travel speed correct for heat accumulation during a WAAM build?
Travel speed sets how much arc time, and therefore how much heat, is delivered per unit length of the pass. Increasing travel speed as the wall warms delivers less heat and less deposited metal per millimetre for the same wire feed speed, which counteracts a pool that is starting to run wider than the layers below it. The trade-off is that travel speed also affects deposition rate, so it usually moves together with wire feed speed rather than alone.
Can wire feed speed be adjusted layer by layer to control WAAM geometry?
Yes, and production builds commonly do this rather than holding one wire feed speed for the whole part. Because wire feed speed sets both arc energy and deposition rate, trimming it down as interlayer temperature rises delivers less heat and less metal per pass, so the hotter, slower-cooling pool spreads less and the bead stays closer to its programmed width. It is not restoring the volume the cooler early layers received; it is deliberately depositing less to offset a pool that would otherwise run wider, which is why it usually moves together with travel speed rather than replacing it.
How is bead width drift detected before it becomes a rejected part?
By tracking pool geometry and interlayer temperature while the build runs, not by measuring the finished wall afterward. A thermal or visual signal that shows the pool trending wider over consecutive layers, or interlayer temperature climbing past the qualified window, is the precursor; catching it there leaves time to adjust dwell, travel speed, or wire feed before enough layers have drifted to put the wall outside its dimensional tolerance.